How to Use a Hardware Wallet: Complete Guide to Ledger and Trezor
Hardware wallets represent the gold standard in cryptocurrency security for individual investors. These specialized devices store your private keys offline, protecting your assets from online threats while allowing you to make transactions when needed. This comprehensive guide will walk you through selecting, setting up, and using the leading hardware wallets on the market—Ledger and Trezor—with security best practices for 2025.
Why Hardware Wallets Are Essential
Before diving into specifics, let’s understand why hardware wallets are considered essential for serious cryptocurrency holders:
Security Advantages
- Air-gapped security: Private keys never leave the device
- Physical verification: Transactions must be manually confirmed on the device
- Malware protection: Resistant to computer viruses and keyloggers
- Recovery options: Backup capabilities to restore funds if device is lost
- PIN protection: Prevents unauthorized physical access
When You Should Consider a Hardware Wallet
A hardware wallet makes sense when:
- Your crypto holdings exceed $1,000 in value
- You plan to hold assets long-term
- You value security over convenience for accessing funds
- You want to secure multiple cryptocurrency types in one place
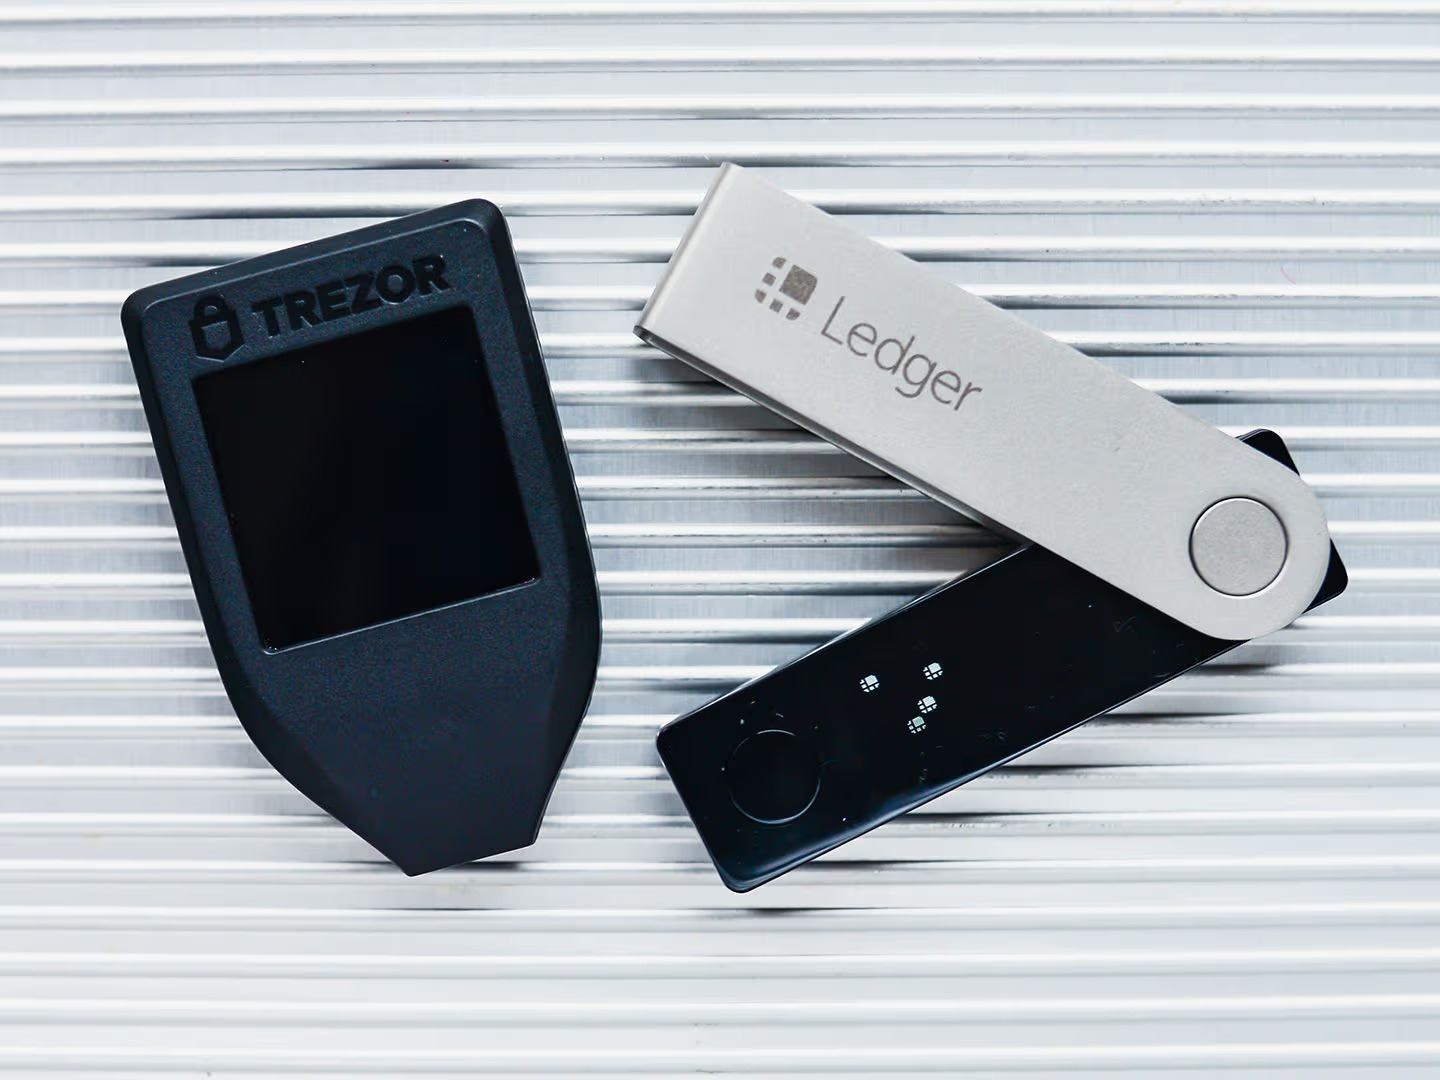
Choosing Between Ledger and Trezor
The two leading hardware wallet manufacturers offer different approaches to security and usability:
Ledger Overview
Key models:
- Ledger Nano S Plus: Entry-level model with comprehensive coin support
- Ledger Nano X: Premium model with Bluetooth connectivity
- Ledger Stax: Advanced model with large touchscreen display
Security architecture:
- Secure Element chip (CC EAL5+ certified)
- Proprietary BOLOS operating system
- Closed-source firmware with open-source applications
Supported cryptocurrencies: 5,500+ coins and tokens
Notable features:
- Bluetooth connectivity (Nano X)
- Large capacity for multiple applications
- Ledger Live companion app for desktop and mobile
- Integration with major DeFi protocols
Trezor Overview
Key models:
- Trezor One: Original hardware wallet with proven security
- Trezor Model T: Premium model with touchscreen and expanded features
- Trezor Safe 3: Latest generation with enhanced security features
Security architecture:
- General-purpose microcontroller
- Completely open-source hardware and software
- Zero trust approach for full user verification
Supported cryptocurrencies: 1,800+ coins and tokens
Notable features:
- Full touch screen interface (Model T)
- Shamir Backup (advanced recovery seed splitting)
- Password manager functionality
- Trezor Suite integrated platform
Making Your Decision
Consider these factors when choosing:
- Security philosophy: Open-source (Trezor) vs. secure element (Ledger)
- Cryptocurrency support: Check if your specific coins are supported
- Budget considerations: Entry-level vs. premium models
- Interface preference: Buttons vs. touchscreen
- Software ecosystem: Companion apps and third-party support
Setting Up Your Hardware Wallet
Regardless of which brand you choose, follow these steps for secure setup:
Preparation Steps
Before even opening your device package:
- Verify authentic packaging:
- Check for tamper-evident seals
- Inspect for package manipulation
- Purchase only from official websites or authorized resellers
- Prepare a secure environment:
- Use a malware-free computer
- Disconnect from the internet initially if possible
- Ensure privacy during setup (no cameras or onlookers)
- Download official software:
- Ledger Live or Trezor Suite from official websites
- Verify software signatures if technically capable
- Keep software updated to latest version
Initial Setup Process
Ledger Device Setup
- Physical setup:
- Connect device via USB cable
- Press both buttons to begin
- Follow on-screen instructions to set up as new device
- Create a PIN code:
- Choose a strong PIN (typically 8 digits)
- Never use birthdays or simple patterns
- Record PIN securely but separately from recovery phrase
- Generate and record recovery phrase:
- Write down 24-word recovery phrase on provided card
- Double-check each word carefully
- Never store recovery phrase digitally or take photos
- Complete setup in Ledger Live:
- Install device firmware updates
- Add accounts for your cryptocurrencies
- Perform test transaction with small amount
Trezor Device Setup
- Physical setup:
- Connect device via USB cable
- Follow on-screen prompts in Trezor Suite
- Select “Create new wallet”
- Create a PIN code:
- PIN entry uses randomized keypad for security
- Choose strong PIN (up to 9 digits)
- Record securely but separately from recovery phrase
- Generate and record recovery seed:
- Write down 12-word (Trezor One) or 24-word (Model T) recovery phrase
- Verify recovery phrase when prompted
- Consider using Shamir Backup for advanced protection
- Complete setup in Trezor Suite:
- Install latest firmware
- Set up accounts for your cryptocurrencies
- Perform a small test transaction
Security Best Practices During Setup
- Record recovery phrase on metal: Consider transferring to steel/titanium medium for fire/water protection
- No digital backups: Never type seed phrase on computer or store digitally
- Consider secure storage: Use fireproof safe or safety deposit box for backup
- Test recovery process: Verify you can restore from seed before transferring significant funds
Using Your Hardware Wallet
Receiving Cryptocurrency
The process for receiving assets is straightforward:
- Connect your device to computer or mobile
- Enter PIN on device when prompted
- Open corresponding account in companion software
- Click “Receive” to generate address
- Verify address on hardware wallet screen
- Share address with sender
- Wait for confirmation on blockchain
Security tip: Always verify receiving addresses on the hardware device screen, not just in the software interface.
Sending Cryptocurrency
Sending requires physical verification on your device:
- Connect and unlock your hardware wallet
- Navigate to desired account
- Click “Send” in companion software
- Enter recipient address (or scan QR code)
- Enter amount and adjust network fees if applicable
- Review transaction details carefully on device screen
- Physically confirm by pressing button(s) or touchscreen
- Wait for blockchain confirmation
Best practice: Send a small test amount first when using a new address to confirm everything works correctly.
Managing Multiple Cryptocurrencies
Both Ledger and Trezor support multiple assets:
- Install required apps on your device (Ledger requires specific apps for each cryptocurrency)
- Add accounts through companion software
- Use third-party wallets when needed for specialized functions
- Monitor balances through companion dashboard
Storage optimization: Ledger devices have limited storage for apps; you can uninstall and reinstall apps without affecting your holdings when needed.
Advanced Hardware Wallet Features
Passphrase Protection (25th Word)
Both Ledger and Trezor support adding a passphrase to your recovery seed:
- What it does: Creates entirely separate wallet from same seed phrase
- Advantages: Plausible deniability, additional security layer
- Risks: If forgotten, funds are permanently lost
- Implementation:
- Ledger: Temporary or attached to PIN
- Trezor: Temporary or via hidden wallets feature
Important: Never use simple passphrases; create something memorable but complex.
Multi-Signature Setups
For maximum security of large holdings:
- What it is: Requiring multiple devices to authorize transactions
- Implementation options:
- Electrum wallet with multiple hardware devices
- Specialized multisig coordinators like Casa or Unchained Capital
- Self-coordinated using open-source tools
- Considerations:
- Increased setup complexity
- More comprehensive backup requirements
- Greater protection against single points of failure
Integration with DeFi and Web3
Modern hardware wallets support decentralized applications:
- Connection methods:
- WalletConnect protocol
- Direct browser integrations
- Specialized DApp browsers
- Security considerations:
- Always verify transactions on device screen
- Be cautious of blind signing requests
- Use contract allowance managers to limit exposure
Tip: Most hardware wallets now support MetaMask connection for safer DeFi interactions.
Backup and Recovery Procedures
Proper Recovery Seed Storage
Your recovery seed is the ultimate backup:
- Physical security options:
- Metal storage solutions (Billfodl, Cryptosteel, etc.)
- Distributed storage in multiple secure locations
- Safe deposit boxes for critical backups
- Advanced approaches:
- Shamir Secret Sharing (splitting seed into multiple parts)
- Geographic distribution of backups
- Multi-location redundancy
Critical rule: Never store recovery phrase and PIN together.
Testing Recovery Procedures
Regularly verify your ability to recover:
- Recovery testing options:
- Use second hardware wallet to verify
- Periodic test recoveries of small accounts
- Dry-run practice without connecting to network
- Create detailed recovery instructions:
- For family members in emergency scenarios
- Store with estate planning documents
- Include clear, step-by-step guidance
Device Loss or Failure
If your hardware wallet is lost or damaged:
- Immediate steps:
- Do not panic—your funds are secured by your recovery phrase
- Purchase replacement device
- Never enter recovery phrase on computer or phone
- Recovery process:
- Set up new device as “recover wallet”
- Enter recovery phrase directly on new device
- Verify accounts and balances
- Update passphrase if previously used
Common Hardware Wallet Issues and Solutions
Firmware Updates
Keeping firmware updated is essential:
- Update best practices:
- Follow official update guides exactly
- Have recovery phrase accessible before updating
- Never interrupt the update process
- Verify device authenticity after updates
Connectivity Problems
Troubleshooting connection issues:
- USB connection problems:
- Try different cables (quality matters)
- Change USB ports (direct connection to computer)
- Check for driver updates
- Restart computer and device
- Bluetooth issues (Ledger Nano X):
- Reset Bluetooth connections
- Update mobile app
- Check device battery level
- Ensure Bluetooth is enabled on mobile device
Interface and App Errors
Software troubleshooting steps:
- Companion app problems:
- Clear cache and application data
- Reinstall latest version
- Check internet connection
- Ensure device firmware is current
- Device recognition issues:
- Try different browser if using web interface
- Disable VPN or firewall temporarily
- Allow device connections in system settings
- Update device bridge software
Comparing Hardware Wallets with Other Storage Methods
Hardware Wallets vs. Software Wallets
Security comparison:
- Hardware wallets keep private keys offline
- Software wallets expose keys to internet-connected devices
- Hardware offers physical verification of transactions
- Software offers greater convenience but higher risk
Hardware Wallets vs. Paper Wallets
Practical differences:
- Hardware enables secure transactions without exposing keys
- Paper wallets require importing private keys for transactions
- Hardware offers better protection against physical damage
- Paper wallets have no protection against user error when transacting
Hardware Wallets vs. Exchange Storage
Risk assessment:
- Hardware gives you direct ownership and control
- Exchanges provide convenience but represent counterparty risk
- Hardware prevents platform-wide hacks from affecting you
- Exchanges may offer insurance but often with limitations
Conclusion: Building a Complete Security System
A hardware wallet is just one component of comprehensive security:
Holistic Security Approach
- Physical security: Protect your device and backups
- Operational security: Safe practices when using wallet
- Knowledge security: Understanding how your wallet works
- Social security: Protection from scams and social engineering
- Estate planning: Ensuring assets remain accessible to heirs
Final Recommendations
- Start with small amounts until comfortable with device
- Document procedures for yourself and trusted others
- Stay updated on security best practices and firmware
- Consider redundancy with backup devices or methods
- Join communities to learn from other hardware wallet users
A hardware wallet represents a significant upgrade in your cryptocurrency security posture. While the initial setup requires careful attention, the long-term peace of mind and protection they provide make them essential tools for anyone with a meaningful investment in digital assets.
By following the guidance in this article, you’ll be well-equipped to leverage the security benefits of hardware wallets while minimizing the risks associated with self-custody of cryptocurrency assets.